
Touhou Koumakyou New Classic Shot Types
Four complete kits. A and B change both the stream and the bomb—there is no mixing.
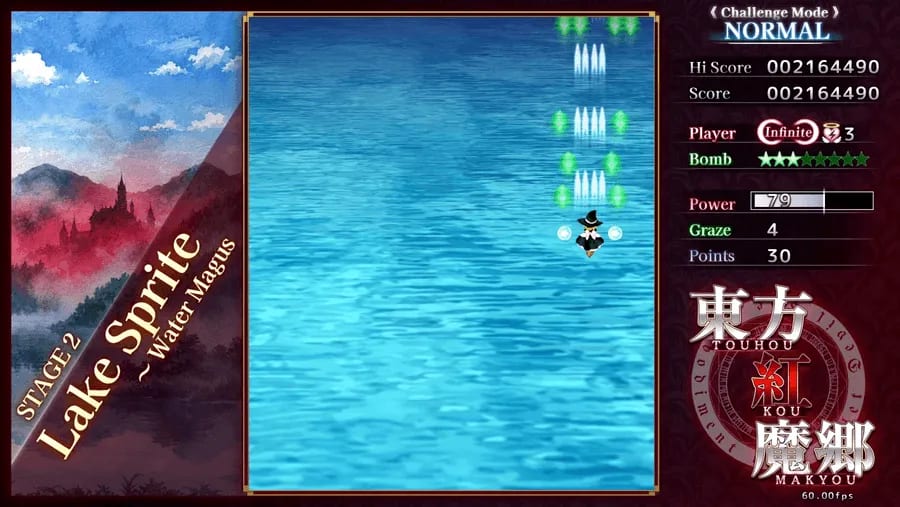
Four kits, not eight parts
Touhou Koumakyou New Classic still uses the 2002 shot menu: Reimu A, Reimu B, Marisa A, Marisa B. Each letter is a locked pair of shot plus bomb. You cannot hang Fantasy Seal on needles or fire Master Spark under homing ofuda. Power only thickens the kit you already picked; it does not invent a fifth type.
Unfocused movement is faster and your stream is usually wider. Focused movement is slower, the stream tightens, and New Classic draws the hitbox. Focus is not an always-on damage stance. You focus to thread a gap or to shotgun. You unfocus to stream Cirno ice, to reach the Point of Collection, and to step out of a wall. If you live on shift from Stage 1 to Remilia, you will lose to speed-control patterns on Stage 5.
Reimu A versus Reimu B
Reimu A is Homing Amulet. Ofuda curve toward enemies, so stage portions are the easiest in the game. You can sit off-axis on Meiling’s opener and still clear the sides. Boss damage is the lowest of the four. You will see more of Patchouli and Remilia, which means more chances to die on cards other shots simply delete. Fantasy Seal, the bomb, is eight homing orbs: long duration, real clear, good midboss execute. Bomb when a pattern has already committed.
Reimu B is Persuasion Needle. Unfocused, the needle wall is a stage broom. Focused, it becomes a shotgun: point-blank damage jumps hard. That is why Extra players like B against Flandre. Evil-Sealing Circle is the tax. The ring sits on Reimu, invulnerability is short, and it will not vacuum a full screen. If you bomb late on B, you die. If you bomb early on top of the threat, B is a balanced main-game shot with Extra-grade boss damage.
Use A when you are still learning to stream and when Stage 4/5 kill you more than bosses do. Use B when you can already 1CC Normal and you want shrine-maiden coverage with real Extra DPS. Do not pick B as a first Easy credit because the bomb will not cover your study mistakes.
Marisa A versus Marisa B
Marisa A is Magic Missile. The lane is thin and the damage is the most consistent high number in the roster. You must track the boss; New Classic’s marker exists for this shot. Stardust Reverie is a spinning star that does not disable your shot. Drop it on the target. It is an execute bomb, not a panic wipe. A is the Extra damage favorite and a strong first-clear pick if you can aim. The known tax is Patchouli’s wood line, including Forest Blaze—practice that card before a no-continue.
Marisa B is Illusion Laser. Beams pierce and strobe, so damage spikes then vanishes. Master Spark is the compensation: long invulnerability, full-field clear, items vacuumed, your own shot disabled for the duration. B is the survival 1CC comfort kit, especially Lunatic, because Spark turns a failed read into a walk. It is a weaker Extra default than A because Flandre’s bars want steady missiles, not a strobe plus occasional Spark.
Bombs compared
Fantasy Seal (Reimu A): homing orbs, long, honest clear. Best all-round survival bomb after Spark. Evil-Sealing Circle (Reimu B): short, local, must be placed on the problem—the worst panic bomb. Stardust Reverie (Marisa A): shot stays on, damage scales with overlap; bomb on the boss. Master Spark (Marisa B): longest i-frames, strongest clear, shot off. Spend Spark on walls you have not learned and on Lunatic cards that would cost a life, not on every spell name.
Deathbomb timing is tight. Plan bombs on the spell name or a visual cue, not on the frame you already overlapped a bullet.
Main game versus Extra
For a first Easy or Normal clear, Reimu A and Marisa A are the correct starting pair. Reimu A teaches movement. Marisa A teaches sitting under a boss. Both have bombs that forgive a late decision better than Evil-Sealing Circle.
For a Lunatic 1CC, Marisa B is the usual comfort pick because Spark length is a mechanic, not a flex. Reimu A remains valid if your deaths are stage deaths. Marisa A is the high-skill route: shorter bosses, thinner stages, Forest Blaze still exists.
For Extra, community damage picks are Marisa A and Reimu B. Flandre’s health and the Extra resource table (few extends, no continue) reward ending cards. Reimu A’s homing peels onto familiars on several taboos. Marisa B can Spark through a wall, but the laser will not out-DPS missiles on a long final bar. Ranked tables with S/A/B labels live on the shot type rankings page; this page is the kit manual those ranks assume.
Patchouli is the hidden shot-select screen. Her element line changes with your letter, so a kit that feels free on Stage 3 can become a Stage 4 brick. If a ranking and your Patchouli deaths disagree, believe the deaths and switch letters for one Challenge Mode credit.
Drill the four kits in Spell Practice after you have seen the cards, then pick one letter and stay on it for a full Normal credit.
Frequently Asked Questions
Quick answers about New Classic, Classic, shot types, and Extra Stage.
Which shot is best for a first clear?
Reimu A or Marisa A. Homing ofuda and Magic Missiles cover the two beginner failure modes: missing side enemies, and racing boss timers.
Which shot is best for Extra?
Marisa A or Reimu B for damage against Flandre. Reimu A often hits familiars instead of the boss. See the shot type rankings.
Should I stay focused all the time?
No. Focus to thread and shotgun. Unfocus to stream, collect, and use speed. New Classic only shows the hitbox while focused.
Why does Patchouli change with my shot?
Her spell list is element-locked to your type. Marisa A in particular draws Forest Blaze. Check the bosses page for the Stage 4 role.
Does Master Spark outclass every other bomb?
For panic survival and item vacuum, yes. It turns your shot off and it is not the highest Extra DPS plan. Stardust Reverie keeps missiles online.
Are there more than four shots?
No. Reimu and Marisa, A and B. Extra unlocks a stage and a boss, not a playable third character.